For the roads less traveled, those gritty, dirty, gravelly ones, tubeless tires offer a solid boost in performance, comfort, and reliability. Once wheels and tires are set up tubeless on a gravel bike, a little maintenance and knowledge will go a long way in confidently keeping the adventures rolling.
Tubeless tires are more robust and smoother riding than their tubed counterparts. Also, tubeless sealant helps plug any micro pores in a tire, or it can seal small punctures up to a quarter of an inch. If you live in goat-head country, sealant will change your life! In short, a tubeless setup can offer a huge boost in performance and ride quality if you follow these easy tips to keep the system running in top shape.
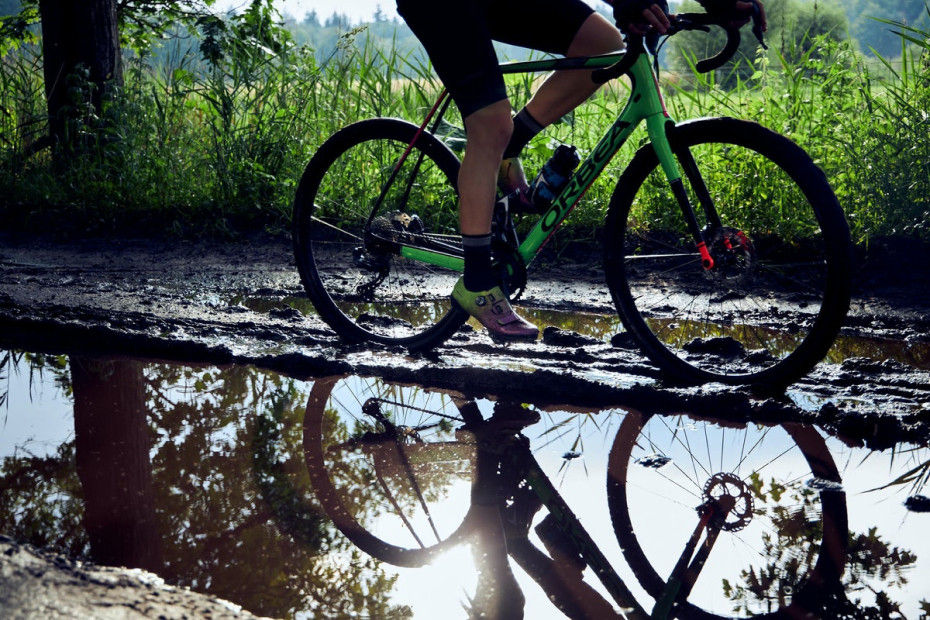
CHECK YOUR SEALANT
Your tubeless setup’s ride-saving liquid does have a lifespan, and like any liquid exposed to the air, it’ll dry out over time. Arid and hotter regions will cause sealant to harden quicker, but checking every two to four months will ensure that it's still in good shape and can do its job. Checking sealant can be done a few different ways:
Sealant Check: The Shake Method
Simply remove the wheel, hold it like a giant steering wheel, and shake it forward and backward. Listen for sloshing. If you can hear it, there’s likely enough sealant for the time being. If there’s no sound, consider a more thorough inspection.
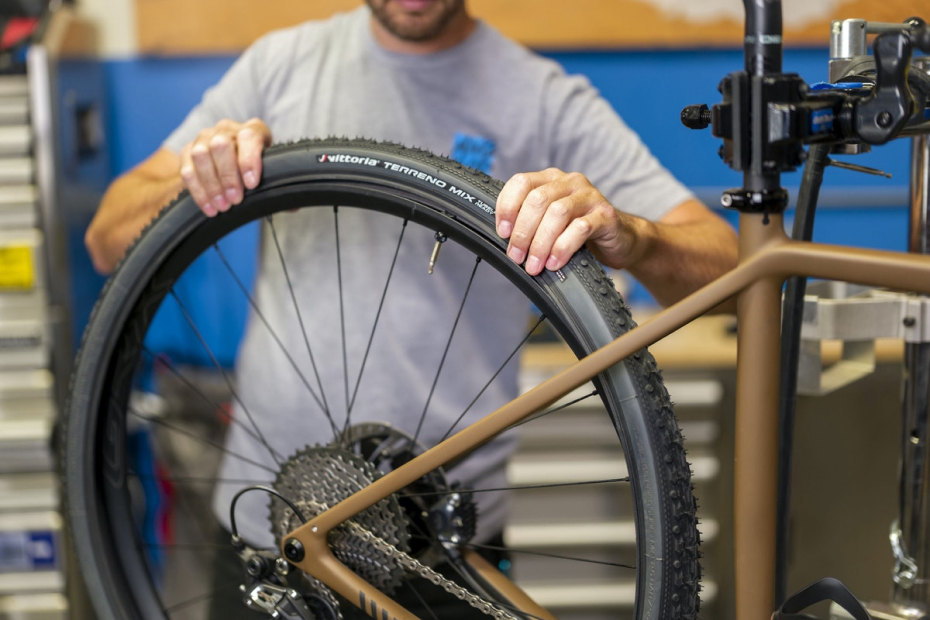
Sealant Check: The Dipstick Method
This method requires a couple of tools but still keeps the bead and rim seal intact. Grab a valve core remover and a Q-tip. With the valve at six o’clock, remove the valve core using a core remover tool (remember lefty loosey). Cut off one swab from the Q-Tip with scissors, lower the cut end down through the valve into your tire until it bottoms out, then remove. This shows not only sealant levels but the color as well. If the dipstick is dry or barely covered, or if it looks dirty and slimy, it’s time to refresh and refill the sealant.
Note: If it’s really gross looking, it’s probably time to start from scratch with a new bottle of goo. This requires removing the tire, rinsing the old sealant out, then re-mounting and adding fresh sealant.
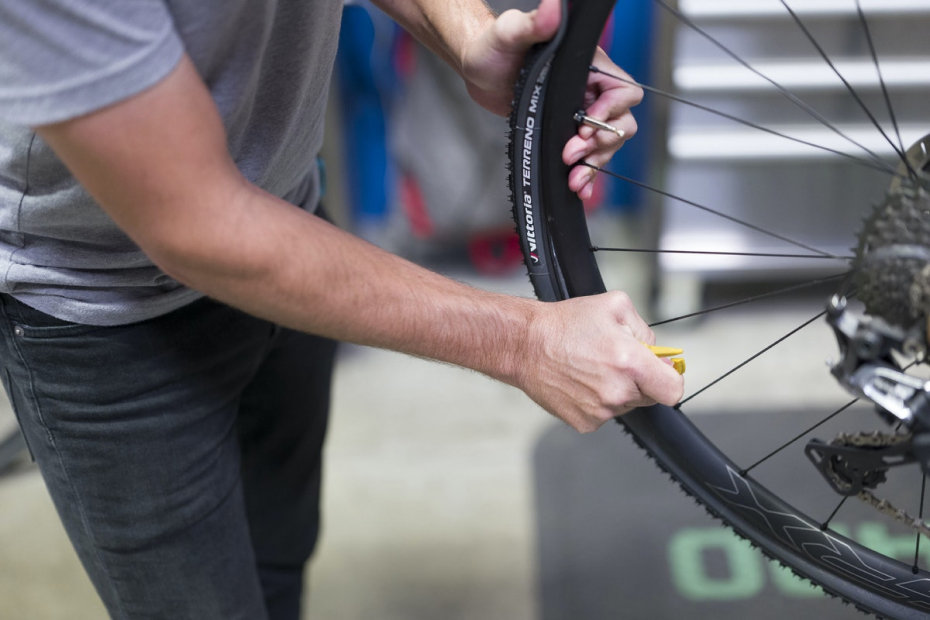
Sealant Check: The Classic Method
Remove your wheel, then let out all the air from the tire. Recall driver’s ed and use your best ten-and-two technique to hold the wheel out front. Use thumbs to push the tire off the bead, opening up the system. Now rotate the opening down to 6 o’clock and peek inside to determine the state of the sealant. There should be about two to four ounces.
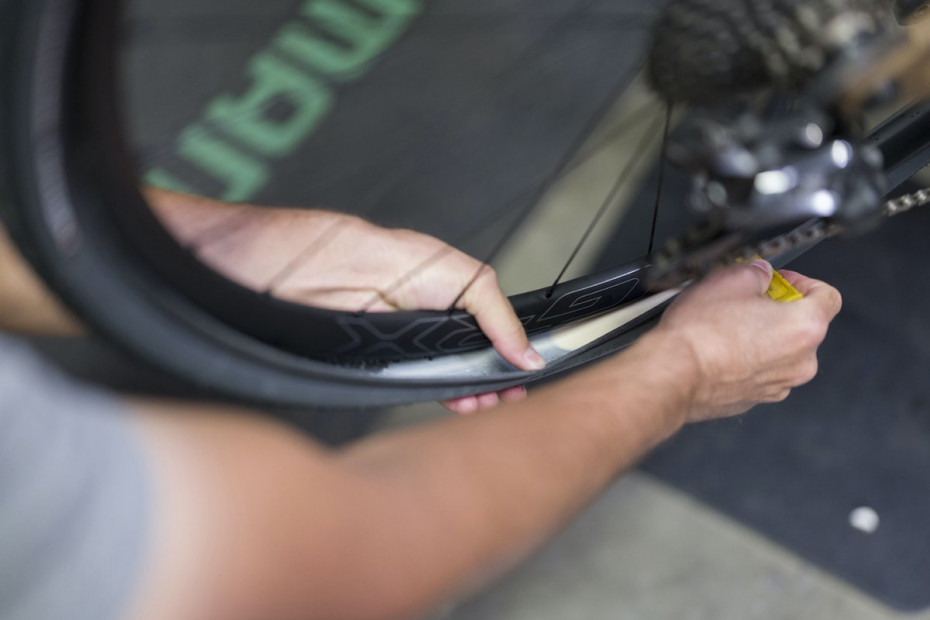
ADDING SEALANT
If checking with the Dipstick Method, it's easy to top off sealant with the valve core already removed. With the core still off, use a funnel or fine-tipped top (most single-serving sealant bottles come with one) and squirt the liquid through the valveless stem. Screw the core back on and air up the tire. Since the bead stays locked onto the rim for this method, it’s usually possible to use a regular pump to reinflate the tire and roll out.
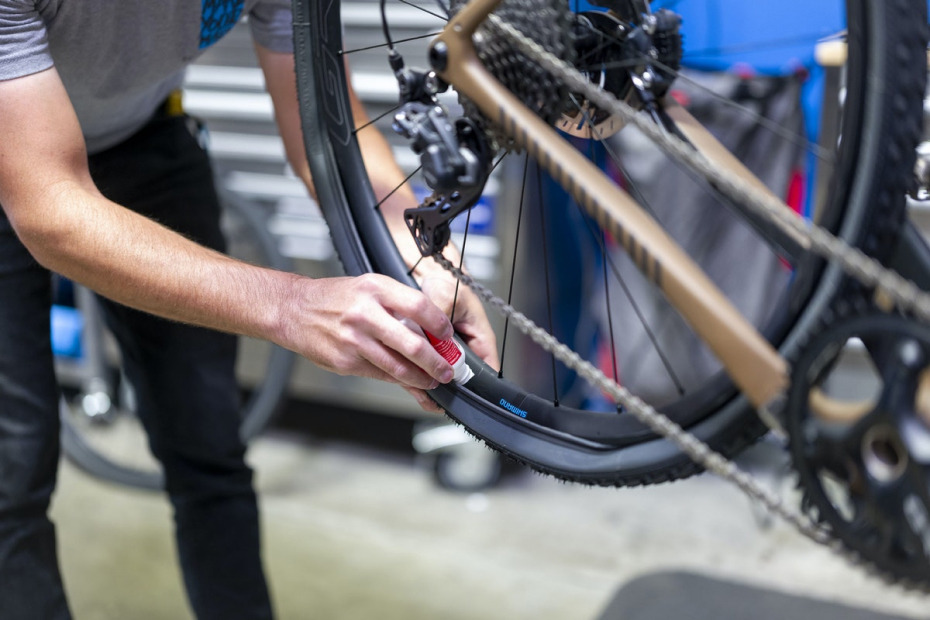
If checking with the Classic Method, sealant can be dumped directly into the tire (two to four ounces), between the bead and the rim. The exact measurement isn't imperative since a little extra sealant won't hurt. Just be sure to slowly rotate the tire so that the sealant doesn't slosh out when reinstalling the tire.
RESEATING TIRES
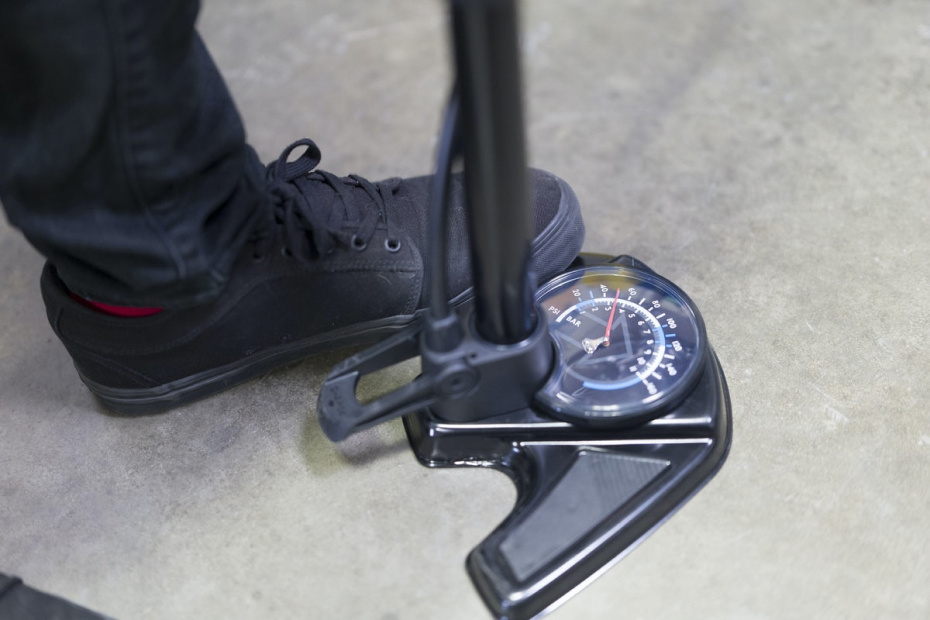
If mounting a new tire, or if you removed the tire during a Classic Check Method, you’ll have to reseat the tire bead onto the rim hook. This requires a quick, powerful blast of air, so you’ll need an air compressor or a specialty floor pump like the PRO Team Tubeless floor pump designed for setting up tubeless systems. You can also take it to your local bike shop, and they'll probably hook you up if you ask nicely. Or, if you're in a pinch and you have some extra CO2 cartridges laying around, you can use those to blast a tire into place at home or out on the trail.
BE PREPARED ON THE TRAIL
Remember to bring the essentials for on-the-road tire fixes when you roll out for a ride. Consider bringing a good set of tire levers, a tube (or two), some CO2 cartridges, a CO2 inflator head, and material to boot the tire if it’s sliced. Self-vulcanizing tubeless plugs are also a great addition to any tubeless repair kit.
Tubeless will seal most flats except for big tears, so you won't need this gear often. If you do slice your tire, fear not! First, see if it will seal with sealant alone by spinning your tire until the cut is at the 6 o’clock position. Give the sealant a little time to do its job. If that doesn’t work, try stuffing a tubeless plug or two in the cut, then reinflate the tire. One of the biggest benefits of tubeless is that there are many ways to fix all sorts of flats without using a tube.
If none of the quick fixes above work, it may be time to finally pull that tube ripcord. But the process is still fairly simple and straightforward. Things will get slightly messy, but you’ll make it home. Remove one side of the tire bead from the rim, remove the tubeless valve (don’t forget it trailside!), and install the tube like you would with a regular tubed setup. Food wrappers and dollar bills work great to cover the tear from the inside so that your tube doesn't stick out. Once you get back to your house or the shop, reinstall a new tire and the valve core, and you’ll be back on the trail in no time.


